In this blog we’ll be talking about the MOLLE system for tactical applications. What it is, how do you properly use it and on top we'll share some of our best tricks to make MOLLE-ing easier.
If you are looking to make an investment in good gear and equipment and support us at the same time, check out our store.
WHAT IS "MOLLE"?
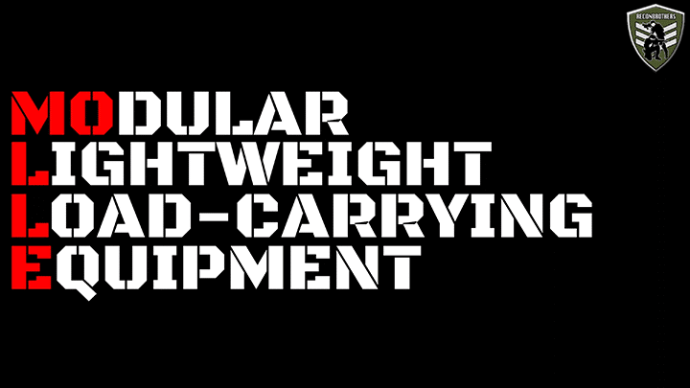
"MOLLE" is an acronym for "Modular Lightweight Load-carrying Equipment" and is used in conjunction with a "PALS" or "Pouch Attachment Ladder System".

PALS

PALS refers to the mounting system or webbing on; for example your plate carriers, war belts and backpacks.
MOLLE

MOLLE refers to the pieces of gear that attach on this webbing, like M4 magazine pouches, grenade pouches, IFAK pouches or any other sort of pouches.
MOLLE CONNECTIONS & CLOSURES

When it comes to the MOLLE system there are many different connection styles for pouches. Some brands have come up with their own systems due to the original “Natick” snap being patented.
All these connection styles have their own advantages and disadvantages, but have in common that they replace the old ALICE clips. Besides the ALICE-system, all these systems have in common that:
- They’re an extreme secure way of attaching pouches and similar stuff.
- They’re modular systems so your setup can be changed.
- They form a great way to organize your stuff.
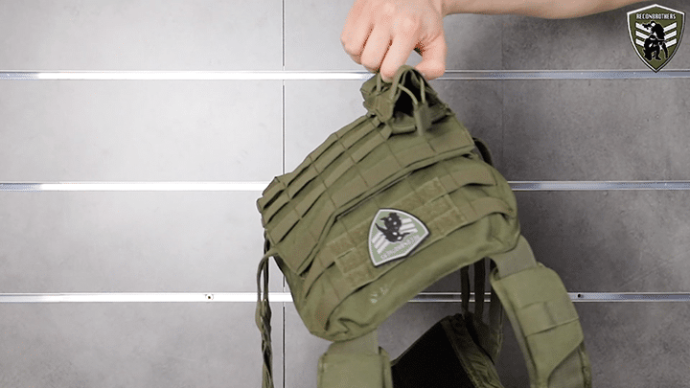
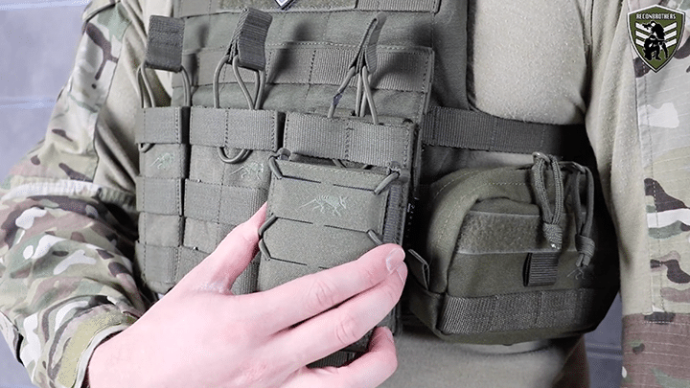
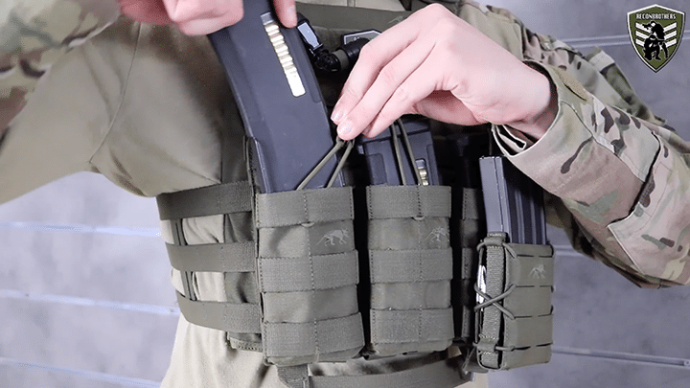
All these features even begin to make the MOLLE/PALS system more common for outdoor usage as well.
CONDITIONS TO USE MOLLE
In order to properly make such a system works, they need to comply to a few conditions, namely:
- The platform that carries the PALS must be rigid.
- The platform must be durable enough.
If not, the platform will not withstand the weight of the pouches.
The materials that meet these specifications are Cordura and Nylon and have both become the military standards. For tactical usage 500 "D" or "denier" has become the standard. This "D" refers to its density and 500 is more than enough.
CLASSIC MOLLE VS LASER-CUT MOLLE
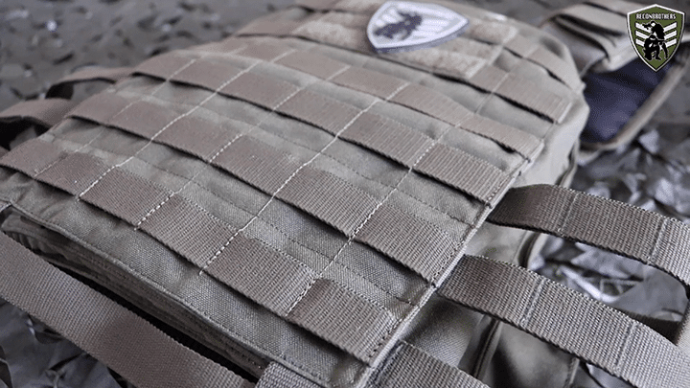
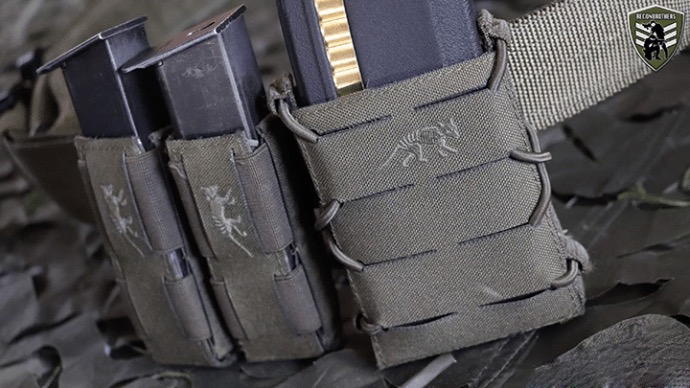
Slowly but surely the newer laser-cut MOLLE is growing in popularity over the classic stitched MOLLE. They both have their strong and weak points and it’s up to you to make a decision between the two.
1. CLASSIC MOLLE

If we look at the classic MOLLE, it is known for being very robust which means with even heavy loads it stays tense over time. Above that it’s also easy to clean and can be fixed with a sowing kit and basic sowing skills.
2. LASER-CUT MOLLE

The newer laser-cut MOLLE is much thinner and doesn’t require any stitching in the manufacturing process. This makes it lighter in weight compared to the classic MOLLE. It is however possible that the slits in the material become bigger over time and usage.
This system obviously can't be repaired with a kit, but at the same time it also lowers the risk of stitches failing. Along with that, dirt can easily get caught inside which makes it harder to clean out.
CONFIGURING YOUR SETUP
Before you start attaching your stuff, you first want to figure out how you will configure your setup.
TIP 1

For this the first tip we can give you, is to count the space of the webbing grid to get an idea of how many pouches will fit. This is to avoid spending money on too many pouches.
You also only want to use the pouches & webbing you really need. Don’t overdo this stuff, because it will only make you less effective.
TIP 2
The second tip is to plan your setup and mind things like the size of your pouches, their weight and how their position might limit your movements. Think about running, crouching and even going prone.
Furthermore, things like how you want to access your pouches and whether you will need to access them a lot or not is something to think about as well.
You might even want to fill the pouches, so you get a better idea of what works for you. Once you’ve figured that out, you’re ready for the full assembly.
TIP 3
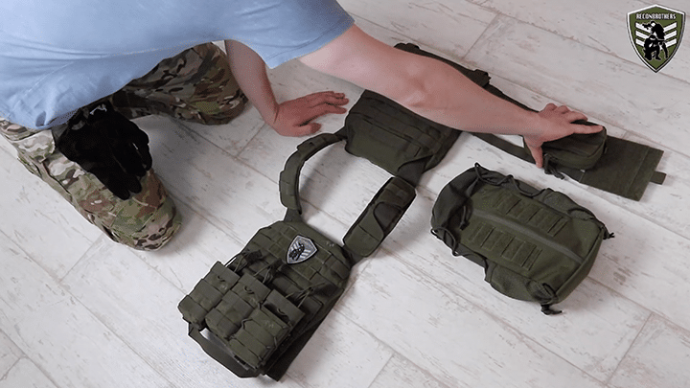
To help you figure this out, you either want to construct your setup by laying it out with the pouches onto it or making a “quick assembly” by attaching the pouches in a very simple way by just making use of one single piece of webbing.
THE ASSEMBLY
STEP 1

For ease of use, you first want to empty all your pouches.
STEP 2

Take the loop or loops from your pouch and get them through the first horizontal row of webbing. This is the part that most people do correct. The next step is another story however.
STEP 3 (THE WRONG WAY)

What most people tend to do then is to put those loops all the way through the whole webbing. Then they lock it and done.

But this is wrong and makes your pouches not sit very secure and tight.
STEP 3 (THE RIGHT WAY)

It’s actually a weaving process which means you alternate between the webbing of both the pouch and the platform. In this particular case the platform is the carrier.
Obviously by doing so, you don’t want to skip any webbing for the best performance. When dealing with more loops you rather want to weave the loops at the same time by alternating between them. This will make the process a lot easier.
After that’s done, you just have to lock the system.
STEP 4
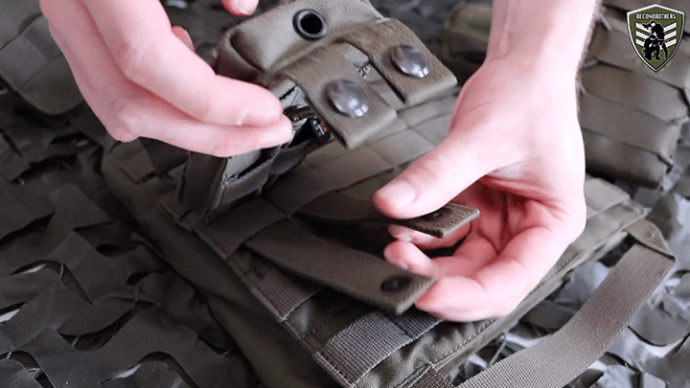
Like mentioned before, there are lots of different closure systems, but the most common ones require you to either snap a closure or use a piece of stiffened material and put it back upwards through the webbing. And by doing so, your pouch is very securely attached to the platform you're using and won’t go anywhere.
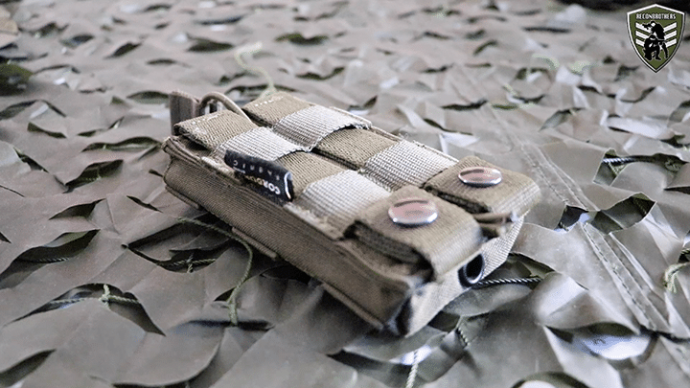
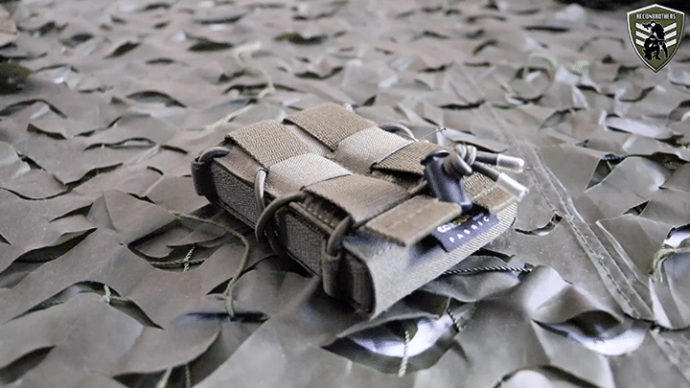
Now the fact is, when weaving this stuff, you will hurt your fingers a lot. So, you might want to look for a "speed-threader" to ease the process a bit. Do notice that a speed-threader cannot be used with every closure system though!
STEP 5
After you’ve assembled everything, you best put it to the test and yes it’s highly possible that you still want to make some changes after you’ve fully assembled everything.
And yes, that might suck, especially with fatigued fingers. But we have a neat trick to save yourself some pain for the disassembly and it involves a flat headed screwdriver.

With such a screwdriver you can easily unsnap the closure or help pull-up the webbing to ease working with the loops.
EXTRA TIPS & TRICKS
TIP 1: DOUBLE MOLLE LOOPS

You sometimes might find a pouch that’s equipped with a double MOLLE loop on the bottom. There’s a reason for that and it has to do with belts.

If you’re using a belt that’s not equipped with a webbing, then this extra MOLLE loop allows for that sturdy fit.
For this, you want to use the most outer loop first and lock the system by going upward in the inner loop.
TIP 2: MOUNTING HOLSTERS ON MOLLE BELTS

It’s possible that if you’re using a belt equipped with PALS, you can’t fit certain holsters even with their specific MOLLE adapter.

To solve this, you can bring the inner belt out over the piece of webbing and attach your holster with its belt mount in that way.
After that, you can bring the remaining belt piece back inwards and you’re ready to go.
IMPORTANCE OF MOLLE SIZING & BRAND CHOICE
As probably already seen MOLLE and PALS form a quite tight fit with not a lot of margin.

And our personal experience with both genuine and airsoft brands made us conclude that some airsoft brands don’t really mind about the correct mil-spec fit for both the MOLLE and the PALS. Besides their already poor quality and stitching.
This makes them sometimes not fit or align properly with other brands, while the genuine stuff can easily be interchanged from one brand to another without any problem.
And again, this is one of the reasons why you should always go for quality products in the first place. If you already have gear from an airsoft brand, we suggest you to stick with that brand for the fitting of those pouches otherwise it’s just guessing whether other stuff will fit. Unless you decide to chance everything to something of a higher quality.
ADDITIONAL INFO & TIPS
If you have no clue where to start as for setting up your personal carrier and belt, you can take a look at our personal gear setup videos in which you can expect a lot of useful tips as well. Just click here to view the blog.
