If you are looking to make an investment in good gear and equipment as well as supporting us at the same time, check out our store.
Zeroing your optics has always been somewhat difficult in the world of airsoft. But today we will teach you a method to zero the optics of your airsoft guns without the use of a range and even without firing a single round. This means you can just do it at home!
IS ZEROING YOUR OPTICS IN AIRSOFT USEFUL?
We know what some of you will say and we’ve heard it plenty of times ourselves, “Airsoft guns aren’t that accurate, so it doesn’t matter if they’re properly zeroed. Just look at where your BBs are going and that should do it.”
Well, there are 2 things we need to point out here;
One being, the difference between accuracy and precision. To most they might seem the same, but they’re actually defined differently.
1. ACCURACY VS PRECISION

Accuracy refers to the exactitude of where you aim and where your shots hit the target.

While precision is stated as the spread of the shots to one another or what is called the grouping.
So it would be more correct to speak about Airsoft guns not being very precise.
2. PRECISION & ACCURACY OF AIRSOFT GUNS
The second thing we want to point out is that yes, for most guns on the market that is the case, but the better ones out there with the best hop-up systems and fps consistency are pretty precise.

And having an accurately zeroed optic gives you an advantage in comparison to others, because it provides a very fast reference to shoot with. Even so that this will lead to "one shot, one kill" moments with rather ease.
That being said, precision is something that comes from the gun itself, for airsoft that mostly has to do with the hop-up, the air-nozzle, the barrel and the fps consistency. While accuracy has to do with the alignment of your optic and your barrel.
"THE SOLUTION" FOR A PROPERLY ZEROED OPTIC
HOW PEOPLE USUALLY ZERO
The usual way to properly zero your optics requires a range of overall about 50 meters for the use of most guns and no wind influence. But the fact is that very few people have access to something like that. So, what most of us do, to have at least a bit of a zeroed optic, is take some shots before the start of an event. But the thing with this quick method is that your shots can be difficult to track and if there’s any wind it will set your optic way off.
NEW METHOD + PROOF
So, for the last year we’ve developed and tested a method we’ve come up with to set your optics without the use of a range and even without firing a single round. This implies you can do most of the work just inside, at home.
And we will also prove that this method works by showing you some tests at a range more towards the end of this blog.
THE REQUIREMENTS

You will need:
A laser bore sighter, a measuring tool, something to write down some numbers, a calculator, a wall to aim at and some tape.
ZEROING YOUR OPTIC:
STEP 1
a. EFFECTIVE RANGE
Step 1 requires the knowledge of a few things first. The first thing you need to be aware of is, you have to know the effective range of your gun!
With effective range, we mean the distance where you are certain you will consistently hit the target with each shot.
And yes guys, there are big differences in effective ranges when it comes to a normal AEG, a Tokyo Marui NGRS, a Systema PTW, a DAS GBLS, a DMR and a sniper.
As for our example with the Tokyo Marui Next-Gen that would be about 40 meters.
b. ZEROING DISTANCE
The second thing you need to do, is to decide at what range you’re going to zero at. With our method you can pick any given distance, however it needs to comply to what you do and what the effective range of your gun is.
Our experience tells us that if you play only indoor 20 meters should do you fine. While people that mostly shoot outdoors overall best use a 30 meters zero. If you however do much of both worlds, we highly recommend you to go with the 30 meter zero and learn to use it up close indoors as well. This means aiming more beneath your reticle when your target is presented closer to you.

For the sniper and DMR users out there a 50 meter zero seemed good enough for the extended range.
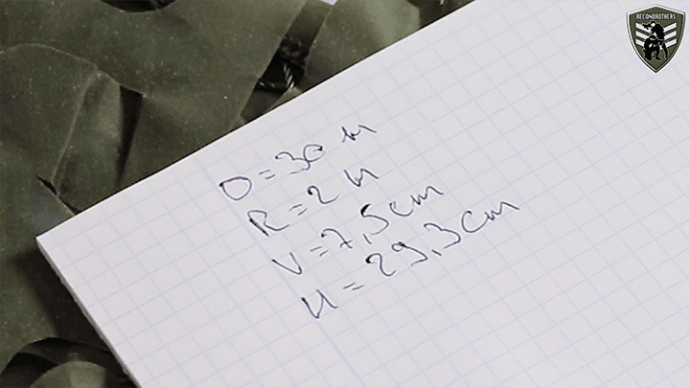
Once you’ve chosen your zeroing distance, you want to write that number down and let’s call this the number D from distance. For our example we’ll use 30 meters.
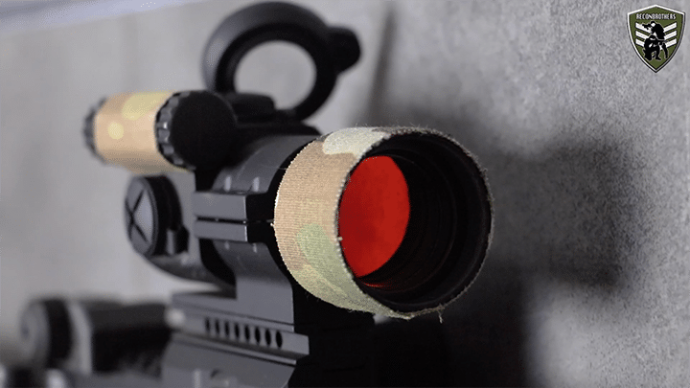
TIP: BE AWARE FOR OPTICS INSIDE A RING!
The third thing you need to know is about red-dot sights, scopes and similar that sit inside a ring. Be aware that these need to sit properly leveled inside that ring and are not canted or zeroing your optic will become very difficult.
Now that you know these things, let’s get to step two.
STEP 2
For step 2 you’re going to do some measuring and write down those numbers as well.
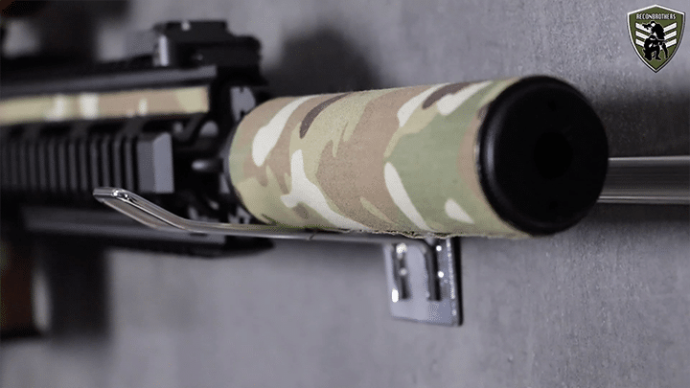
a. REMOVE MUZZLE ACCESSORIES
But before you do that, you first need to remove any sort of muzzle accessories from your gun, like in our case the suppressor and flash hider. This will give you a better view of where the tip of your inner barrel is to make proper measurements.
And later when you’re going to insert the bore sighter in your inner barrel it won’t be interfered by these parts and it also won’t get stuck.
b. THE FIRST MEASUREMENT
The first thing you’re going to measure is the distance of the tip of your inner barrel to the wall you will be aiming at. Mind the closer to the wall, the less precise you can zero. The farther to the wall, the better you can zero, as long as you can clearly see it off course.

We usually take 2 meters ourselves and mark it with some tape on the floor for an easy reference. Let’s call this number R from reference.
c. THE SECOND MEASUREMENT

The next thing you want to measure is the vertical distance between the center of your optic and the center of your inner barrel or the extension of the inner barrel. Let’s call this number V from vertical.
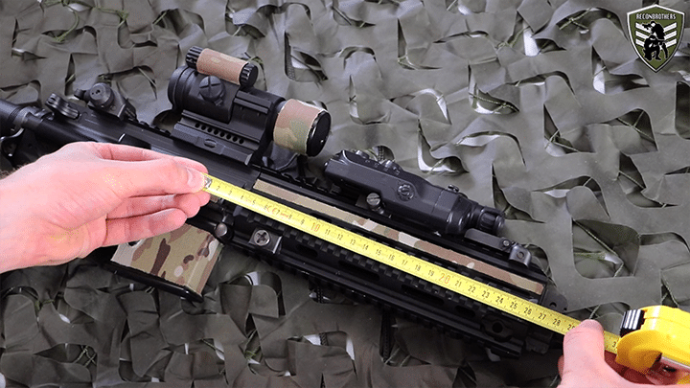
d. THE THIRD MEASUREMENT
The last thing you’re going to measure is the horizontal distance going from the tip of your inner barrel, because that’s where the BB exits, to the point where the center of your optic meets the inner barrel or the extension of the inner barrel. Let’s call this number H from horizontal.
STEP 3
a. THE LASER BORE SIGHTER

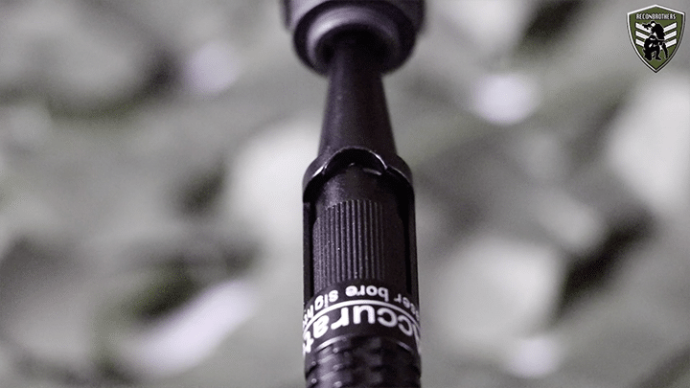
Below you see a laser bore sighter which is normally used to make a fast zero for real firearms. These things come with different adapters to fit a range of calibers, because they’re made for real calibers.
The first and most important thing about this tool is to get a decent one, because the good ones have been properly zeroed in the factory. Which you may not ever make adjustments on by the way! But to give you an idea of what’s good, this one came with a price tag of 50 Euros.
b. USING THE LASER BORE SIGHTER

Before you start to use this tool, your gun may not contain any sort of mag or power source and needs to be on safe, because you may not take any shots with this thing in your barrel.
Furthermore, in order to insert this tool you will need the smallest caliber adapter that comes along with it and widen it till it grabs itself on the inner barrel of your Airsoft gun.
Also important to know is to put the laser straight into your barrel like the example in this case where the battery compartment needs to be on top because of factory zeroing.
Now that you know how to use this tool we can go over to the next step which is zeroing your optic to your gun.

STEP 4
a. BEFORE ADJUSTING YOUR OPTIC

The first thing you’re going to do is turn on your optic if needed and make sure to dim it until you can barely see the reticle. This makes it possible to make very small adjustments.

For scopes its easiest to set them to the least possible magnification to make your adjustments.
The first adjustment you want to do is set the windage of your optic. This is the horizontal position of the reticle or crosshairs. By doing this first you will make it easier to set the elevation or vertical position of your reticle.
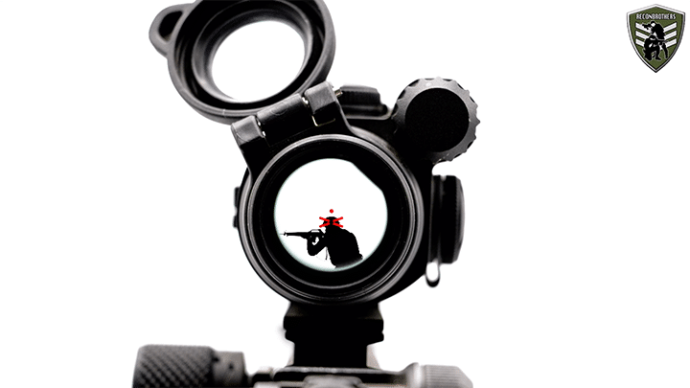
Important before you start is to use your gun as you would shoot it, this means your buttstock and optic has to be set as you use it and your aim through the optic needs to be as you would use it. To be more clear with one eye or two eyes open and if you use any sort of lens protector, leave it on. Or you might zero it off due to the how light behaves through it.
Also look as much as possible to the reticle or crosshairs and see through it as you wouldn’t mind the laser dot.
b. SETTING THE WINDAGE

How to set your windage? Take the largest distance in your room and adjust the windage till your reticle or crosshairs matches up to laser point seen on the wall.
Do notice the farther this is done, the better this alignment will be. If you don’t get it right for 100%, don’t worry because a more exact alignment can be done later. This is just so you can easily set that elevation.
c. CALCULATING THE ELEVATION OFFSET

When that is done, you’re going to calculate the offset for your sights which we’ll call O from offset. This is the point where those numbers you’ve measured and wrote down come in place.
We’re going to put those numbers into a small formula and the outcome will be the amount you need to aim higher with your dot or crosshairs than the laser point presents itself on the wall.
A quick notice before you start to calculate, make sure all your numbers are converted to centimeters for the metric unit users or in inches for the imperial unit users. This will make sure that you don’t make errors and that the outcome is immediately in the correct unit as well.
We’ll shortly explain what you need to do.

In order to calculate your reticle offset, you’re first going to take your number D and subtract your number R from it. This will give a new number which we’ll call A.

Then you’re going to take your number H and add your number D to it which will give you a new number B.

After that’s done your going to take your number A you’ve calculated and divide this by the number B you’ve just calculated and multiple that with the number V. The outcome you now have is your offset O.
d. SETTING THE ELEVATION

Now that you have your offset calculated, you’re going to set the elevation of your optic. Before you start doing this, you’re going to need a stable platform to aim as steadily as possible and try to level your gun horizontally as much as you can.

Also take in mind you align your inner barrel with the mark on the floor to have the correct distance away from the wall.
Again keep those things in mind about your buttstock and optic positioning, the one or two eye aim and about ignoring the laser dot as much as possible.

So if that’s taken care of, you are going to make both a zero-line or the point where the laser inside your barrel marks on the wall and an offset-line or the point where your reticle or crosshairs needs to aim on the wall. In order to do this, you’re going to make your base-line first and measure the needed height or offset you’ve just calculated which will give you your offset-line.

If you can’t make any marks on your wall, you can also ask a buddy to show you the offset point with the use of a ruler. Anyway, whatever way you choose to do it, adjust your reticle in elevation until it’s set to the correct offset distance.
STEP 5: SETTING THE HOP-UP
When that’s done your optic is zeroed. The only thing you need to do after that on the field is adjusting your hop-up, so that your BBs are making the farthest possible straight trajectory. This means no over-hopping or your zeroing will be off!
EXTRA STEP 6: POSSIBLE FINER ADJUSTMENTS
When you’ve done this, your optic is aligned with your barrel to your exact chosen distance like 30 meters with our example gun. However, it might still be that your windage is a tiny bit off due to the laser point being quite big presented on your wall from up close usage.

You’ll definitely be able to take accurate shots, but if you want to make those nearly perfect adjustments we recommend you to use your bore sighter and aim somewhere further away, so you can make finer windage adjustments.

But please, when doing so stay off your elevation, so only use the adjustment placed on the horizontal side of your optic!
THE BEAUTY OF THIS METHOD
The beauty behind this method besides your optic being aligned at a chosen distance and most of it being done indoor at a few meters away from a wall, is the fact that there’s no wind involved and it doesn’t matter where your optic is mounted.
EXTRA STEP 7: CO-WITNESSING YOUR BUIS TO YOUR OPTIC
As for zeroing iron sights, you can use the bore sighter to set the windage, but for the elevation it won’t be that accurate, because the BUIS or Back Up Iron Sights are inherently just not that accurate. And like the name says it serves as a fast back-up option.

However if you’ve set your optic you can use what’s called co-witnessing to set your iron sights. For this you just turn on your optic and adjust your iron sights until they align with your reticle.
TESTING OUR METHOD
You’re probably wondering like: This method is all neat and such, but I would like some proof to see that it actually works.
We’ve taken care of that and went out to the 50 m shooting range.
THE GUNS:
In order to test our zeroing method we’ve taken 3 guns and zeroed them at different distances.

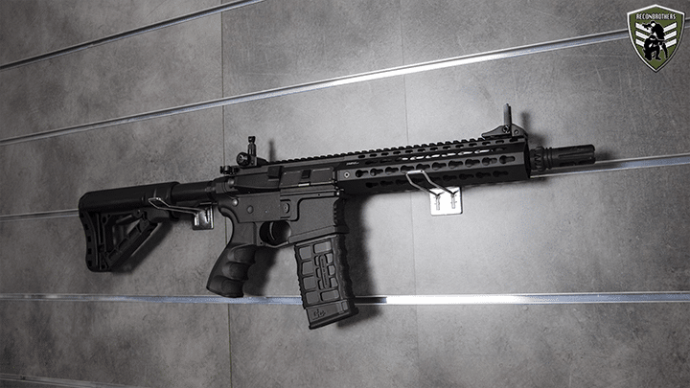
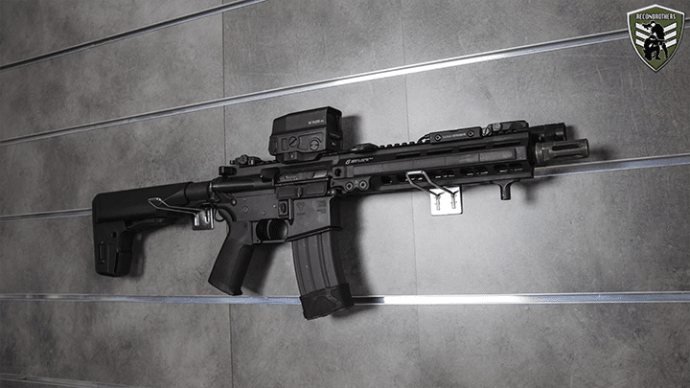
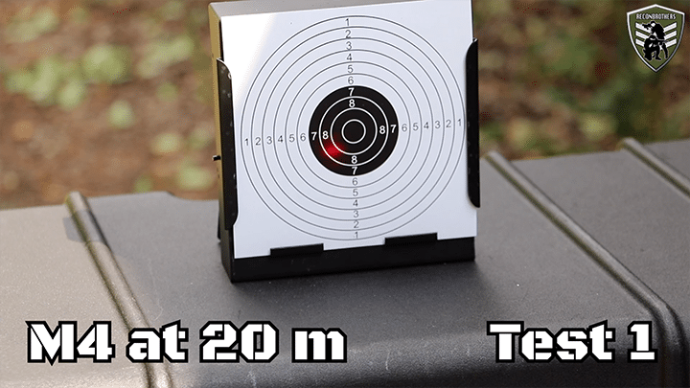
- The first one is the M4 which has been zeroed for 20 m away at home using our method.
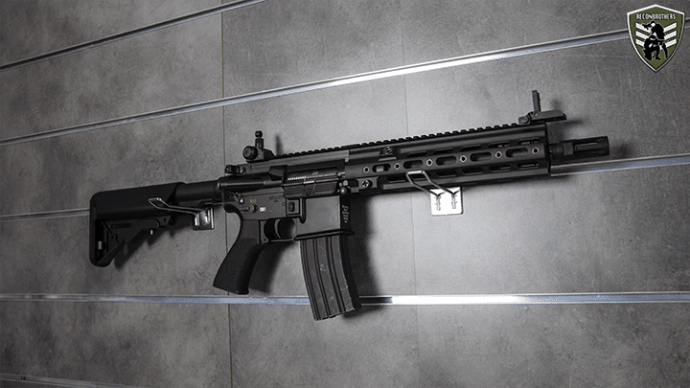
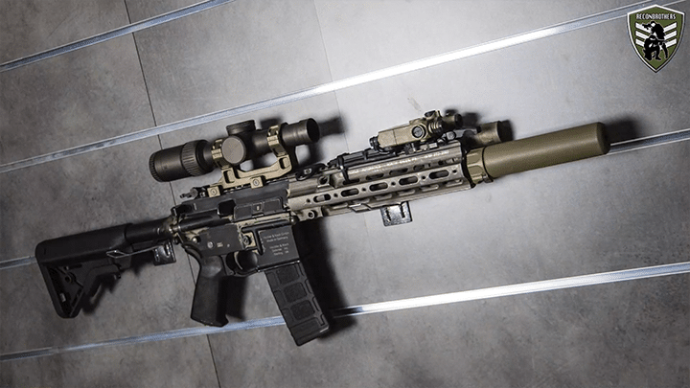
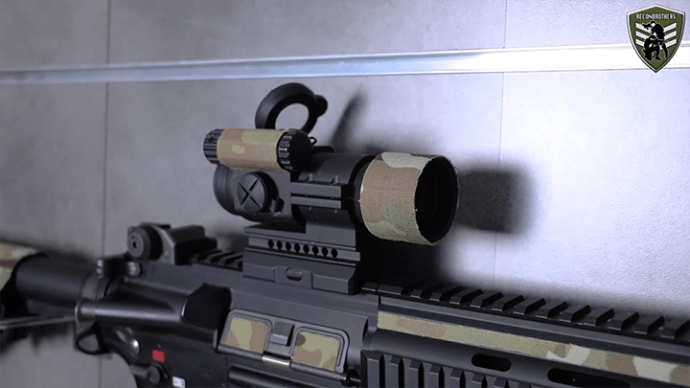
- The second one is the HK416 that has been set to 30 m.
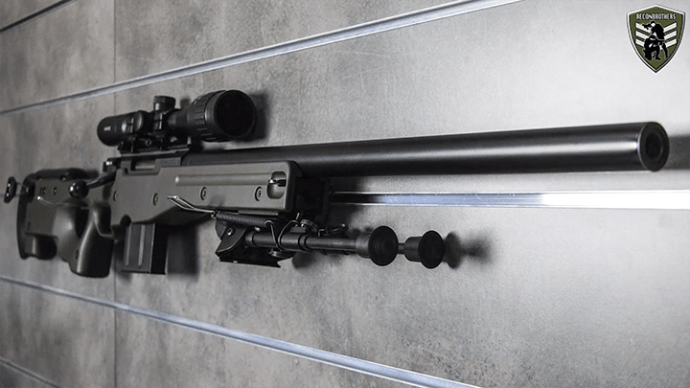
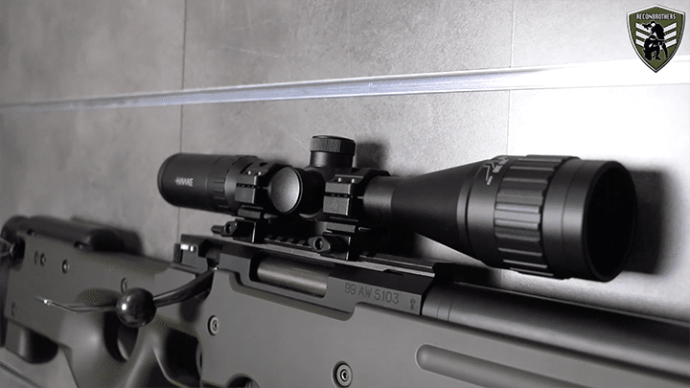
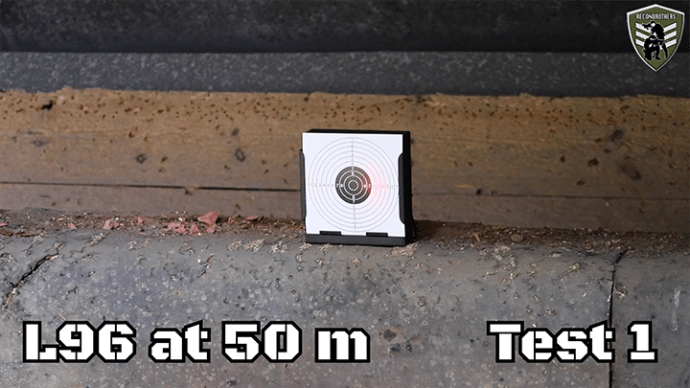
- And the last gun is the L96 sniper rifle (with some more power than the others) that has been zeroed to 50 m.
THE TESTING PRINCIPLE
To make sure our tests are reliable, we’ll take a different approach than most guys do. A lot of people in the airsoft community that test guns to show you the accuracy and precision usually take a standing position and shoot at a cardboard target in that way.
In our eyes that are way too many human variables we like to eliminate to provide data that only has to do with the accuracy of the barrel in relation to the optics.
In order to get this done the shooter will take a seat and use a table as a stable platform. Above that he will use what’s called a “sniper hold” to be able to make very small adjustments. This way the shooter’s movements will be eliminated as much as possible.
Other variables we’ve also taken care of are that we’ve put the target at the exact same height as the barrel of the gun. Because if you shoot too much down, the BBs will fly up in the air due to the Magnus Effect working in on them. Besides that, the range we’re using has walls on both sides to eliminate wind influence as best as possible.
SPECIFICATIONS OF TEST 1
For the first test we’ll put the laser bore sighter inside the barrel of each gun and aim at the center of the target that we’ll put at the corresponding zeroed distances of each gun.
This way, we’ll visually see where the laser represents itself which will give an idea of how well the zeroing took place.
SPECIFICATIONS OF TEST 2
For test 2 we’ll put the laser aside and place a magazine in the guns. Here we will shoot 10 shots at each target set at the corresponding zeroing distances of the guns. After that we’ll see what results we get.
RESULTS OF TEST 1:
As shown on the photos, you can see that that the laser presents itself on the target and in some cases even not that quite far away from the center of the target. This already indicates us a good optic zero.

RESULTS OF TEST 2:
RESULTS OF THE M4 AT 20 M

Let’s begin with the M4 at 20 meters away. Here we’ve got 9 hits and shown from the footage 1 BB has hit the frame of the target, so not that bad.
From this result we can see that the shots are neatly centered when it comes to the vertical positioning, which means that our elevation calculation worked at 20 meters away. But when we look at the horizontal positioning of the shots, we see they are more outlined towards the left of the target.
RESULTS OF THE HK416 AT 30 M

When we take the card from the second gun with the HK416 at 30 meters away, we’ve hit the target 6 times and 1 shot hit the frame out the total 10 shots. The others were not that far off either.
Looking at this result, we can make the same conclusion as with the M4, but now for 30 meters away.
RESULTS OF THE L96 AT 50 M

At last, when we look at the sniper shots, we hit 3 shots out of the 10 taken, 1 has hit the frame and the others were quite close to the target.
THE CONCLUSION
Just so you know, these cards are only 14×14 centimeters big which can be compared to making headshots at these distances. Also do mind that we did the zeroing inside at our studio, but we haven’t adjusted for windage at larger distances yet which explains our deviation toward the left of the targets.
The final conclusion we can make from this, is that yes this method is indeed a good way to zero your optics without the use of a range. Especially the elevation methodology is quite accurate for the chosen zeroing distance.
Only the windage zeroing can use some minor adjustments at further distances, but once that’s done, you definitely have a solid zeroed optic for the use in airsoft.
So guys, hope you’re convinced that this zeroing method provides the solution for you when it comes to having an accurate airsoft gun.
We’ve been using it for quite some time already and were both very pleased with the results we’ve got out of it.
Thanks For Reading!
Make sure to support us by buying over our store!