Having a good pair of tactical or outdoor boots is a good starting point. But the number one key people take for granted is lacing them. Tying your boots properly makes the difference between getting the best performance or experiencing some serious discomfort.
With the help of experts from the shoe industry, we’ve come up with one specific way to tie your boots, so that they provide the best kind of stability and comfort possible. Learn the steps on how to do it below.
If you are looking to make an investment in good gear and equipment and support us at the same time, check out our store.
1. HEEL TO THE BACK

For the first step you want to put your heel to the back end of your boot. This will make sure your feet can’t move around freely, especially when going downhill, with a properly laced boot.
2. BOOT SECTIONS

To start the lacing process you want to divide your boots in 2 sections. This being a section for the front of your foot and one for your ankle.
The one for the front of your foot allows you to lace your boot as tight as you like to provide the right amount of space and comfort you personally prefer. The ankle section on the other hand makes sure you have the right amount of ankle stability.
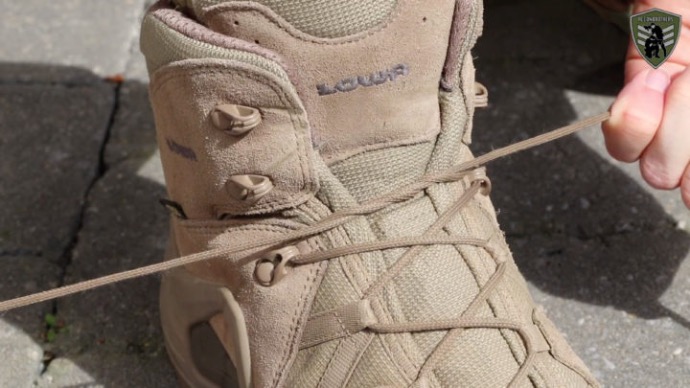
3. HIGH ARCH BYPASS (OPTIONAL)

Some people have a high-arch type of foot which can result in an uncomfortable pressure point when your boot is laced. A high-arch type of foot can be determined by lacing your boots the way you are used to and feel if top of your foot is too narrow on top. If this is the case, then you have a high-arch foot.
To relief your foot of this pressure point, just make a bypass with your laces over the pressure point so you can’t create uncomfortable pressure with your laces.
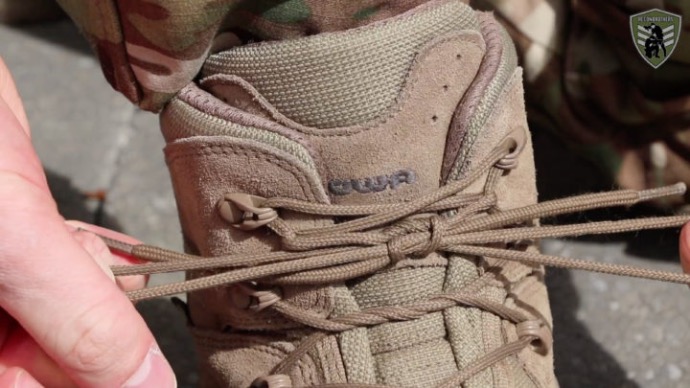
4. LOCK: DOUBLE LOOP
In order to lock the two separate sections we’ve talked about earlier, you can simply use a double loop.
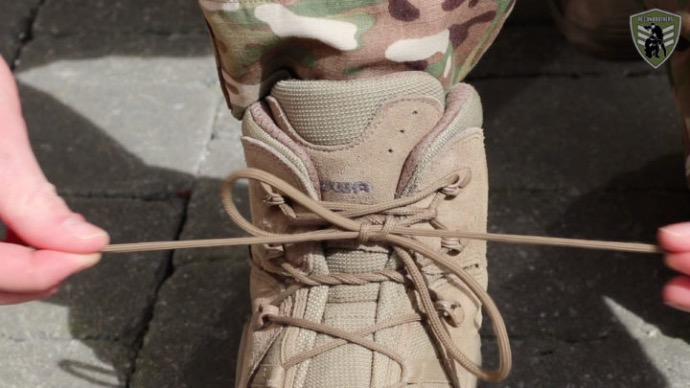
5. FOUR-POINT LOCKING MECHANISM

The 4-point locking mechanism is designed to stabilize your ankle with the tension divided over your whole ankle. Thanks to this method you will never be able to over-tighten your boot and create a bottleneck and therefor also avoid cutting off blood circulation.
6. NO-WORRY KNOT
Last and possibly most importantly is the knot. The our so called “no-worry knot” gets its name from truly being a knot you don’t need to worry about. This is due to the fact that it will not come loose in any kind of situation and will never get stuck due to clamping or moisture. Furthermore it is also very easy to untie again.