
In the past, we’ve already made videos/blogs where we cover how to mount a PELTOR or SORDIN headset onto a ballistic or bump helmet. Due to this, the question has risen on how to wear these kind of headsets underneath a helmet without mounting them and that is exactly what we’ll cover here in this video/blog.
Before we dig into this subject if you want quality gear and like our work, please support us by buying over our store!
MOUNTED VS UNDER-THE-HELMET HEADSET
Before we’re going to explain what you need to do to wear one of these under your helmet, we first want to cover the pros and cons a bit regarding a mounted versus an under-the-helmet setup. Let’s begin with one of the most important ones and that is comfort.
1. COMFORT

If we look at wearing these things for long periods of time, we can definitely say that a mounted setup is most comfortable. This because you don’t have that continues pressure of the headband on your head.

Also, most helmet mounted setups allow you to simply rotate the ear cups to the back of the helmet and this way give your ears some airflow to cool down and get released of the cups their pressure. This is obviously not possible with an under-the-helmet system.
2. EASE WITH/WITHOUT HELMET
Next up is the ease of use with or without a helmet and when it comes to this the under-the-helmet setup is by far the easiest one. Just remove your helmet and you keep all the benefits of your headset.
As for a mounted version it’s not that easy. It takes time to remove a mounted headset and some even require you to use tools to go back to a bridge or vice versa.
Some systems are rather quick to change while others don’t even allow it anymore. So, if you intent to do this, make sure you’re aware of what you get.
3. COMMS
In regards to your comms, you will obviously need to keep wearing your headset, only difference is that the under-the-helmet version allows you to do that without wearing your helmet.
4. PRICE
Beside this, you can also look at the price and here the under-the-helmet setup is overall cheaper. This because a mounted version usually requires you to cut the leather headband, get adapters for your specific helmet and headset system. And if you want to use the bridge again, you will also need a replacement headband wrap.
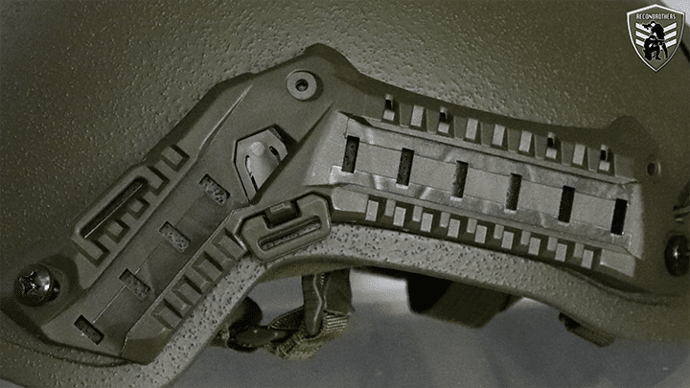
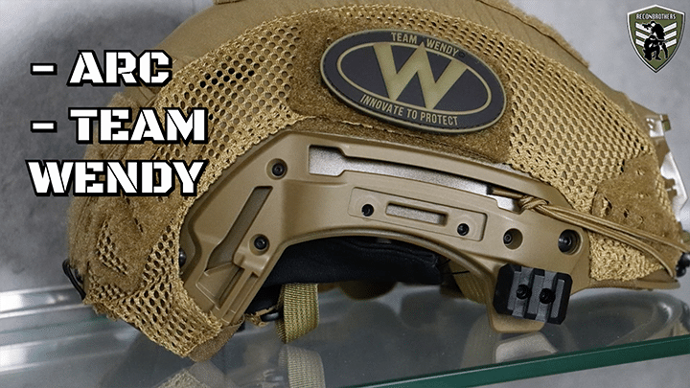
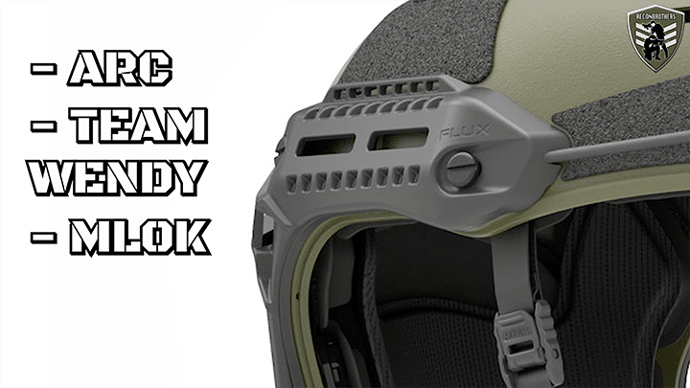
Also when getting a helmet with different rail types you mostly need to get different adapters as well.
5. SPEED PUTTING ON/OFF
At last, you can also consider the ease and speed of putting everything on or off. And here the helmet mounted setup is by far the easiest one.

Simply put your brain bucket on, press those cups over your ears, adjust where needed and you’re ready to go.
As for the under-the-helmet setup it is possible, but not that practical. And how you do that is exactly what we’re going to show you in a moment.
THINGS YOU NEED TO KNOW FIRST
There are however also a few things you need to be aware off, before being able to wear a headset underneath your helmet.

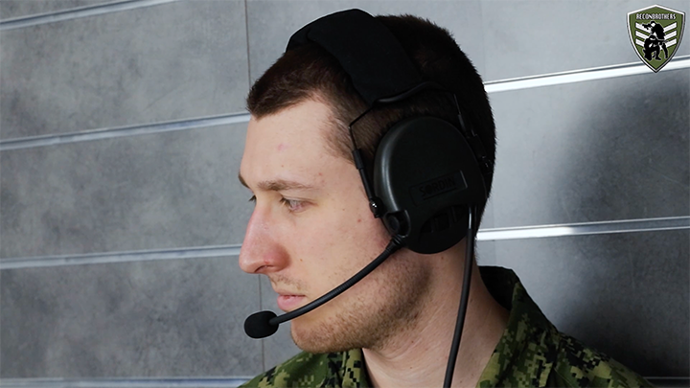
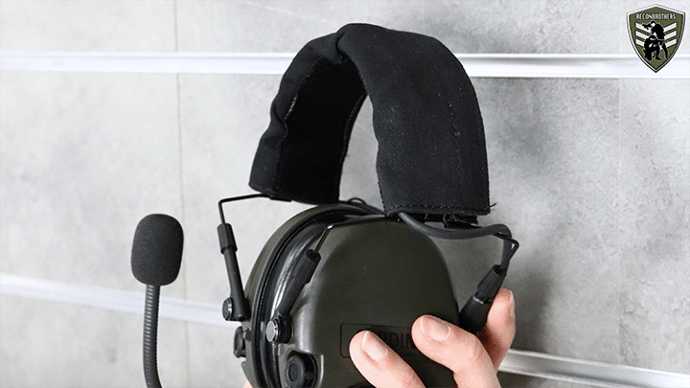
One is that fact that you can only do this with slim headband designs, otherwise there’s no way it will fit and if it does you’ll probably won’t last very long that way. These slim headband designs are usually made of leather, but it’s possible you’ll find fabric or rubber versions these days as well.
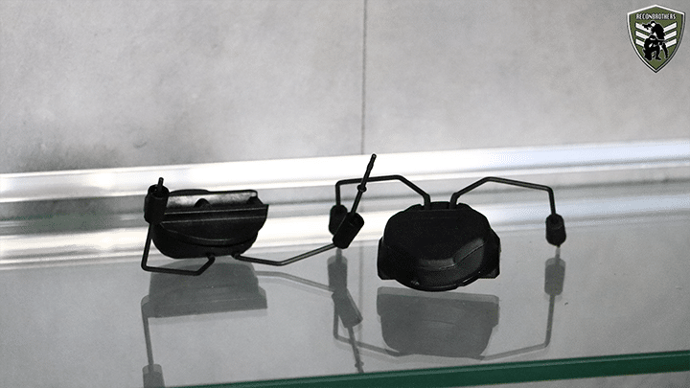
Also good to know, is that it is very inconvenient to get a headset with two downleads underneath a helmet unless your wires allow to be plugged in or out.
SO, HOW TO DO IT?
1. GETTING STARTED
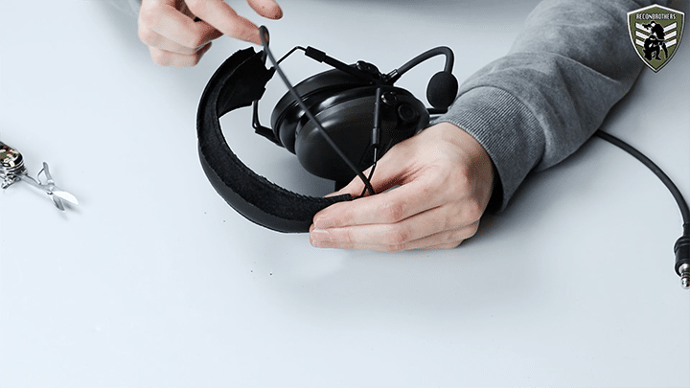
Before you’re going to start, you want to set the size of both the headset and the helmet separately first. This way the headset won’t need any more adjustments once you have everything on and the helmet should only require minor adjustments in the worst case.

Just so you know up front, you want the bridge of your headset to be at the level of your ears. So really on the top of your head, not towards the back. Also, there shouldn’t be any sort of gap between your head and the bridge.
2. PREPARING YOUR HELMET

As for the first step you’re going to get your helmet and remove or adjust some of the inside padding. Here you want to take out the pads on the left and right side of where the headband will come.

You also want to either remove or relocate the center top pad such that it fits comfortably with the headband. This may require some trial and error.
Important is to only make adjustments to the padding and not the liner system, because that’s what protects your head together with the shell.

Next, make sure the retention system of your helmet is fully disengaged.
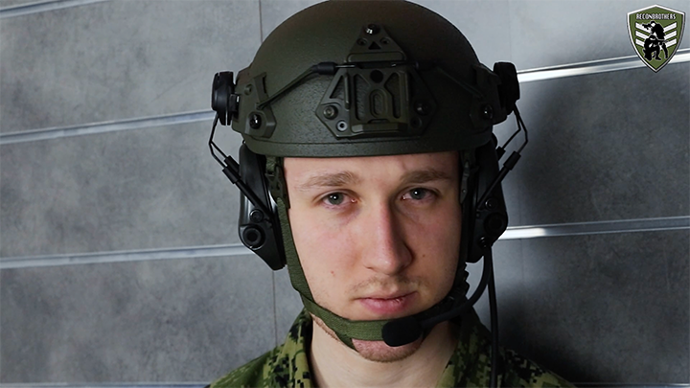
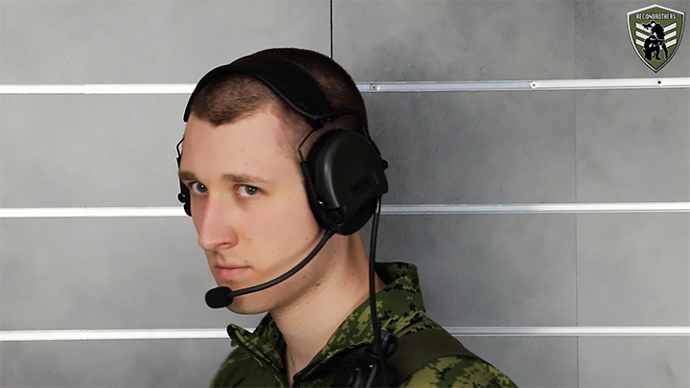
3. WEAR HEADSET

Put your headset on and as said before, make sure to wear it properly.
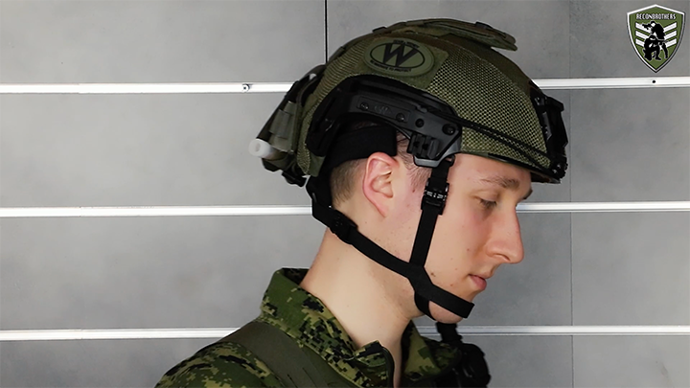
4. PUTTING HELMET ON

Now comes the part where a headset becomes difficult in comparison to regular ear pro (i.e. without a microphone and downlead). Here you first want to bring your helmet close to your face and get your mic and wire through the gap of the retention system.

Once that’s done, you’re going to bring the helmet closer to your head and place the retention straps aside the ear cup against your face.

After that, you can bring the helmet over your head and put the other straps aside the other ear cup against your face and close the retention system.

Tighten your helmet on the back and adjust the retention straps where needed.
If you want to remove the helmet, you simply have to work in the opposite way. And that’s basically it guys, nothing more special about it.
It might be a bit awkward in the beginning, but once you get the hang of it, it will be a pretty smooth process.
THANKS FOR READING!
Looking for these sort of products, accessories and much more cool stuff make sure to visit our webshop.